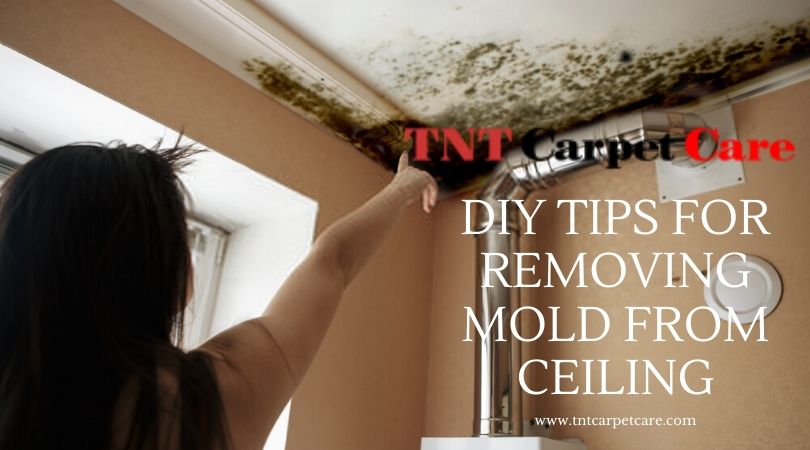
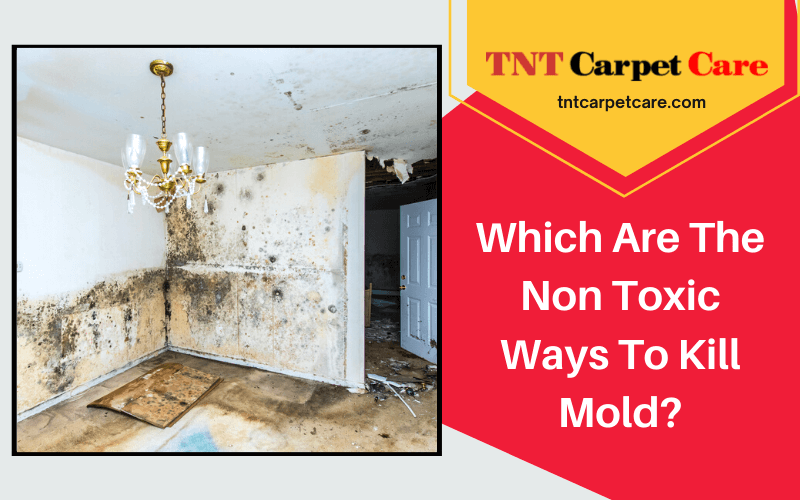
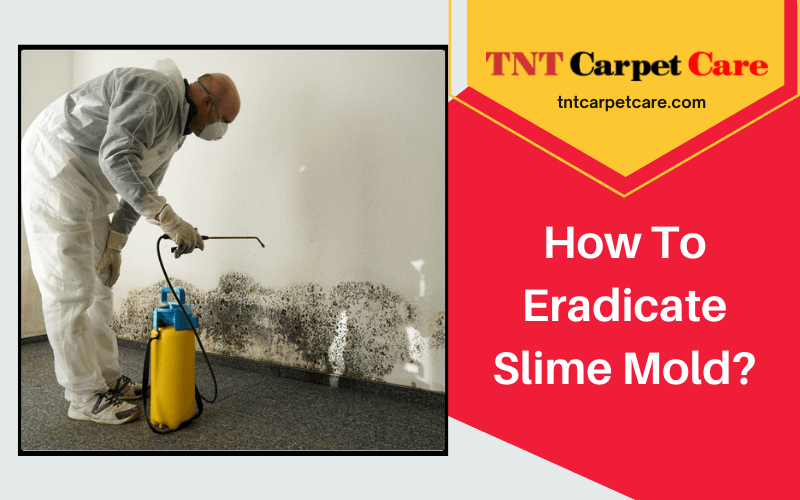
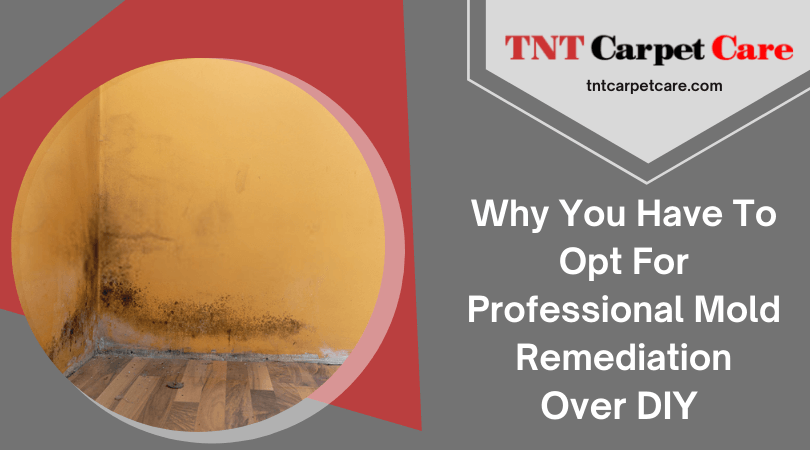
Mold on your walls and ceilings is not only unsightly but also unhealthy and uncomfortable! It only takes one inch of your wall for the mold to form its house and before you have an entire ceiling of your house turned black by fungus.
Mould appears on the ceiling due to moisture, roof damage, leakage, high humidity, poor ventilation, cooking, condensation, etc. Once it appears, the mold will spread much faster than it actually does on the outside. Therefore, as soon as you notice black or green spots, you should consider removing mold from ceiling to prevent further contamination.
Two most reliable and easiest DIY’S to choose from
Removing Mold From Ceiling Using Bleach
Bleach is probably the best option for removing mold from ceiling. Not only is it a good cleaning agent, but it also kills mold and bacteria and disinfects walls and ceilings to prevent mold from returning. This is what you need to do when bleaching walls and ceilings.
- Gloves
- Bucket
- chlorine bleach
- Water
- Dusting cloths
Steps
- Put on gloves and make a solution of one part bleach and ten parts water in your bucket. Gloves Serve as protection for your skin, as excessive contact with bleach can cause skin irritation or burning. It is also recommended to keep all windows open for maximum ventilation.
- Dip one end of the fabric into the solution and gently squeeze it to remove some water. Get on your ladder and wipe the shape off the walls and ceiling. Lower the other ends of the fabric until you have removed the entire shape. Avoid using too much force to ensure that walls and ceilings are clean and undamaged.
- You can prepare a fresh solution if the water gets too dirty, or just use more cloth. Use an old toothbrush to clean hard-to-reach areas or confusing areas.
- As soon as you can’t see any mold on the walls or ceiling, grab a dry cloth and press it against the wet area to absorb as much water as possible. Do not use plain water to wash the walls as the bleach acts as a germicide and prevents mold growth.
Removing mold from the ceiling using Vinegar
Many people choose vinegar over bleach and other chemicals because it is 100% natural and safe. It doesn’t emit dangerous smoke into your home as most chemicals do. Like bleach, it can also kill and prevent future mold growth, but only if it’s regularly applied to mold-prone areas around your home. When cleaning with vinegar, collect these items and follow the steps:
- Spray bottle
- White vinegar
- Scrubbing brush
- Plain water
- clean cloths
Steps
- Pour the vinegar into a dry spray bottle (do not mix with water) and apply a sufficient amount to the mold-infected area. Let him sit for one hour before moving on to the next step.
- Wipe mold off walls and ceilings with a clean cloth dampened with water. You can also use a stiff bristle brush because it removes hardened fungi and stains more effectively.
- Use a dry, absorbent cloth to absorb moisture by dabbing or pressing against cleaned areas. Open the windows for the area to dry quickly and let the vinegar smell go out.
- To prevent the growth of moldy vinegar, the corners of the ceiling and other areas where mold is likely to grow should be sprayed with the same vinegar in the bottle once or twice a week.
We at TNT Carpet Care don’t run unnecessary tests, do not charge reasonable prices, will clearly explain what we are going to do, using professional methods and devices. So all of you in El Cajon and surrounding areas call 619-208-2708 to book your appointment today.


